Enter data on the creation of the order document
The window for entering data on creating an order document is opened by clicking on the 'Create order doc' button, which is located inside the 'Activity' tab of the order creation interface.
This window consists of three parts. At the top is a drop-down menu for selecting a form. From this drop-down menu, it is possible to select patterns that were previously selected. To the right of this drop-down menu is the 'Select' button. Pressing this button opens the file selection window, described in the chapter 'Selecting a file from the repository'.
Below the form selection, there is a table of all orders, to which the toolbar is linked, which is located on the right and contains the 'Add' and 'Delete' buttons.
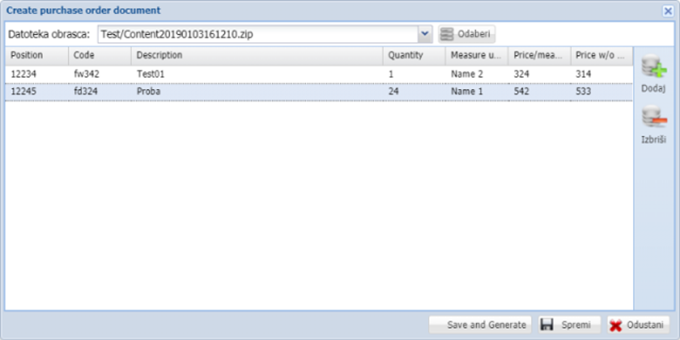
The table consists of the following columns:
- 'Position' - position of the order
- 'Code' - order code
- 'Description' - order description
- 'Quantity' - Quantity
- 'Measure unit'
- 'Price / measure unit' - Price per unit of measure
- 'Price w / o tax' - Price without tax
Orders are edited via a table. Double-clicking on a specific field will be able to change it. All fields except 'Measure unit' are entered manually, while this field is converted into a drop-down menu from which we can select a unit of measure.
A new order is entered by clicking on the 'Add' button on the right toolbar. By pressing this button, a new order will be added to the table without any data entered.
Pressing the 'Delete' button, along with the previously selected order within the table, will delete the highlighted order.
There are three buttons in the lower right corner of the window: 'Save and Generate', 'Save' and 'Cancel'.
By clicking on the 'Save and Generate' button, a new order file will be created and saved within the 'Process Package'.
Pressing the 'Save' button will save, and pressing 'Cancel' will discard all changes.