Workflow setup
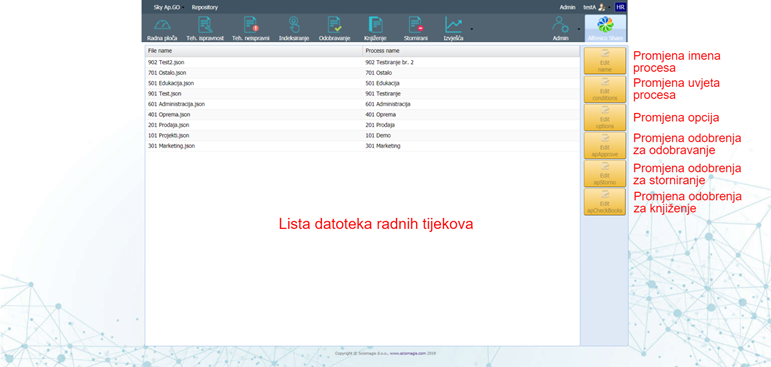
The workflow administration user interface is opened by clicking on the 'Admin' button on the toolbar and selecting the 'Workflow setup' option, which is located under the 'Designer' menu. The user interface consists of a table and a toolbar, located on the right.
The table consists of two columns. The first column 'File name' shows the names of the json files in which workflows are saved, and the second 'Process name' the names of the processes that are saved in those files.
The toolbar consists of the following buttons: 'Edit name', 'Edit conditions', 'Edit options', 'Edit apApprove', 'Edit apStorno' and 'Edit apCheckBooks'.
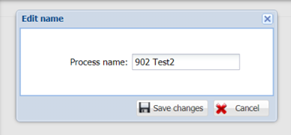
Clicking on the 'Edit name' button will open the 'Edit name' window, which consists of only one field - 'Process name', in which the process name is entered. There are two buttons in the lower right corner of the window: 'Save changes', to save the changes, and 'Cancel', to discard the changes.
Clicking the 'Edit conditions' button on the workflow administration toolbar will open a window for changing process conditions, which is described in the chapter changing process conditions.
Clicking on the 'Edit options' button will open a window for changing options, which is described in the chapter on changing process options.
Process approvals can be changed by pressing the button that indicates that approval. There are three buttons on the toolbar to change the authorization: 'Edit apApprove', 'Edit apStorno' and 'Edit aoCheckBooks'. Pressing one of these buttons will open the process approval modification window, which is described in the process approval modification section.